
Building your own custom PC can be one of the most rewarding experiences, blending the creativity of design with the technical skills of assembly.
Not only does building a PC provide you with the satisfaction of crafting your machine, but it also allows for tailored performance based on your exact requirements.
Whether you are a gamer looking for the ultimate gaming rig, a content creator in need of a powerhouse system, or a casual user aiming for a reliable setup, building a PC ensures you get the best value and functionality for your money.
This guide takes you through every aspect of building your custom PC, offering detailed insights into choosing components, assembling them, and optimizing your new system for performance and efficiency.
By the end of this guide, you will have a comprehensive understanding of the process, ensuring your custom PC journey is seamless and enjoyable.
Defining Your Purpose and Budget
Before diving into the technical aspects, it is crucial to establish the purpose of your PC and the budget you are willing to allocate.
The intended use significantly influences the choice of components. For instance, if you’re building a gaming PC, a powerful graphics card and high-refresh-rate monitor are essential.
Content creators, on the other hand, might prioritize high-performance CPUs, ample RAM, and storage.
General-purpose users may not require top-tier components but should still aim for reliability and future-proofing.
Budget planning is equally vital. Determine how much you’re willing to spend and allocate funds wisely across components.
Keep in mind that certain parts, such as the CPU and GPU, often demand a significant portion of your budget.
However, balancing cost with performance is key. Remember to account for peripherals like monitors, keyboards, and mice, as well as additional costs like the operating system and potential tools for assembly.
Step-by-Step Guide to Build Your Own Custom PC
Choosing Your Components
The heart of a custom PC lies in its components. Each part plays a crucial role in overall performance, so selecting the right hardware is essential.
Below is a breakdown of the primary components you’ll need:
Central Processing Unit (CPU)
The CPU serves as the brain of your computer. Popular choices include Intel and AMD processors, both offering options for various budgets and performance levels.
Consider the number of cores and clock speeds, especially for tasks like gaming, rendering, or multitasking.
For gaming, an Intel Core i5 or AMD Ryzen 5 is often sufficient, while content creators might benefit from Intel Core i7/i9 or AMD Ryzen 7/9 processors.
Motherboard
The motherboard is the backbone of your system, connecting all components.
Ensure compatibility with your chosen CPU and consider features such as the number of USB ports, support for Wi-Fi, and expansion slots.
Chipsets also matter; higher-end motherboards typically offer better overclocking support and additional connectivity options.
RAM (Memory)
RAM is critical for multitasking and overall system responsiveness.
Most users should aim for at least 16GB of RAM, with 32GB or more being ideal for intensive tasks like video editing or streaming.
DDR4 and DDR5 are common standards, with DDR5 offering faster speeds and better efficiency.
Storage
Storage needs vary, but having a combination of speed and capacity is essential. Solid State Drives (SSDs) are significantly faster than traditional Hard Disk Drives (HDDs).
NVMe SSDs, in particular, offer superior performance and are ideal for boot drives. HDDs, on the other hand, provide cost-effective storage for large files.
Graphics Processing Unit (GPU)
For gaming and graphic-intensive tasks, the GPU is perhaps the most important component.
NVIDIA and AMD are the leading manufacturers, offering a range of GPUs for various budgets.
Consider factors such as VRAM size, clock speeds, and power consumption when selecting a GPU.
Power Supply Unit (PSU)
A reliable PSU is essential to ensure stable power delivery to your components.
Opt for a unit with sufficient wattage and an 80+ efficiency certification. It’s always better to choose a PSU with some headroom for future upgrades.
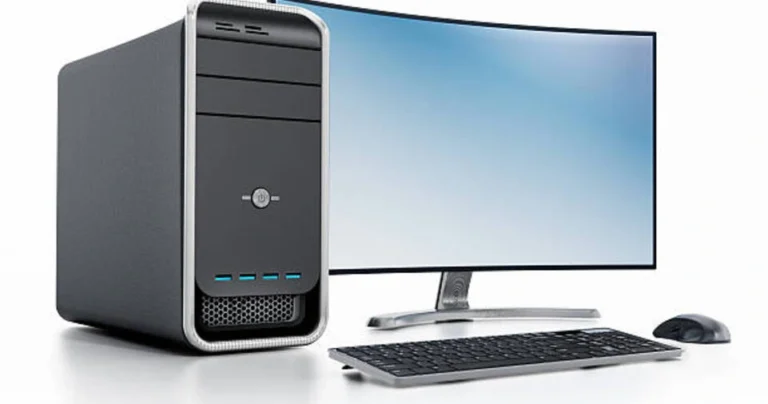
PC Case
The case not only houses your components but also impacts airflow and aesthetics.
Choose a case with good ventilation, enough space for your parts, and features that match your preferences, such as tempered glass panels or RGB lighting.
Cooling System
Maintaining optimal temperatures is vital for system longevity and performance.
While many CPUs come with stock coolers, aftermarket options often provide better cooling and quieter operation.
Consider air or liquid cooling solutions depending on your needs.
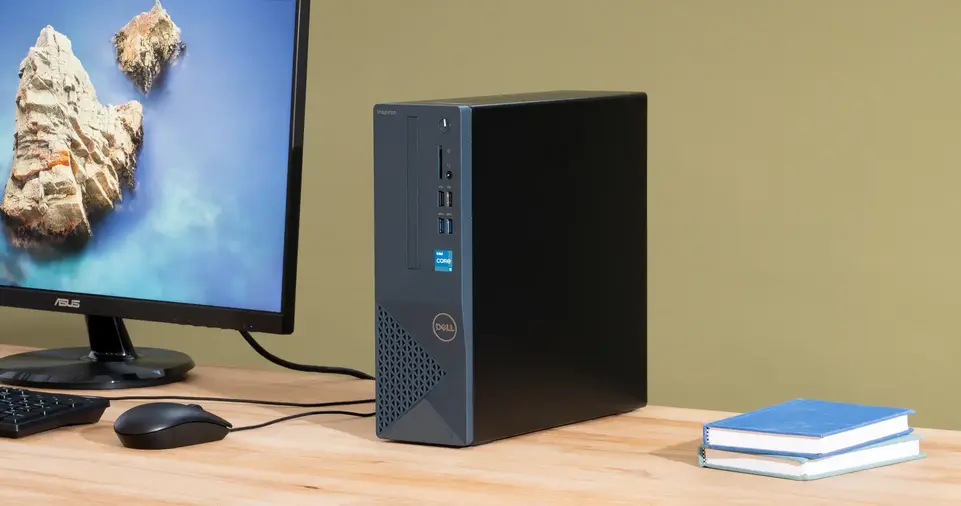
Peripherals
Peripherals like monitors, keyboards, and mice play a significant role in your overall experience.
Select peripherals that complement your build and cater to your specific needs, whether it’s a high-refresh-rate monitor for gaming or an ergonomic keyboard for long typing sessions.
Preparing for Assembly
Gather Your Tools
Before starting, ensure you have the necessary tools.
A Phillips-head screwdriver is indispensable, while an antistatic wrist strap is highly recommended to prevent electrostatic discharge.
Zip ties and a small pair of scissors or a cable cutter can aid in cable management.
Organize Your Workspace
Set up a clean, flat workspace with ample lighting. Use an antistatic mat or work on a non-conductive surface to protect your components.
Lay out all the parts and tools within easy reach, ensuring you have the manuals for reference.
Inspect Components
Carefully unbox and inspect each component for any signs of damage. Refer to the manuals to familiarize yourself with the parts and their installation process.
ALSO READ: How to Find and Enjoy Free-to-Play Games Without Spending Money
Step-by-Step Assembly Guide
Step 1: Install the CPU
Begin by installing the CPU onto the motherboard. Open the CPU socket, align the notches on the processor with the socket, and gently place it in.
Close the latch to secure the CPU. Be cautious not to touch the pins on the socket or the underside of the CPU to avoid damage.
Step 2: Attach the CPU Cooler
Apply a small amount of thermal paste to the center of the CPU if it’s not pre-applied on the cooler.
Attach the cooler according to the manufacturer’s instructions, ensuring it’s firmly secured.
Connect the cooler’s power cable to the appropriate header on the motherboard.
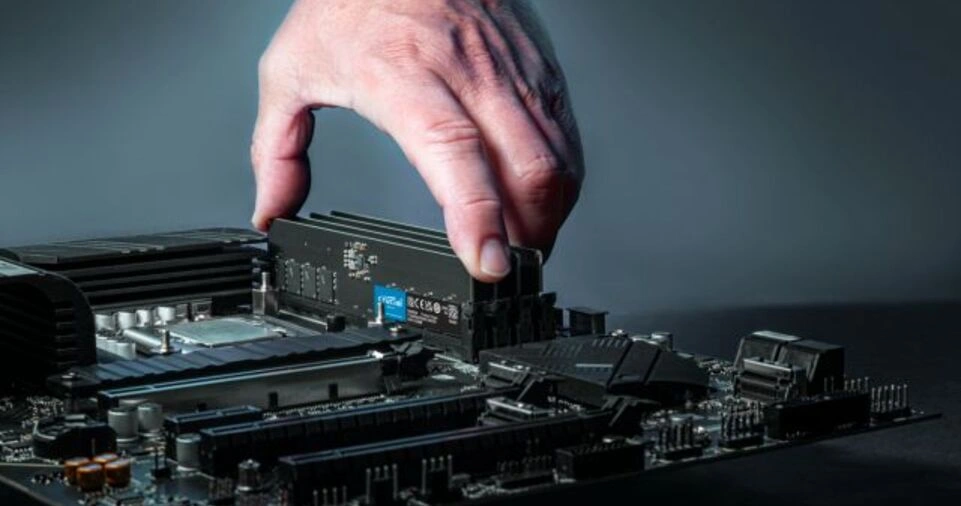
Step 3: Install RAM
Locate the RAM slots on your motherboard and unlock the clips.
Align the RAM sticks with the slots, ensuring the notch matches the key in the slot. Press down firmly until the clips click into place.
Step 4: Mount the Motherboard
Install the I/O shield into the case, then place the motherboard onto the standoffs inside the case.
Secure it using screws, being careful not to overtighten. Connect the front-panel cables to the appropriate headers on the motherboard.
Step 5: Install Storage Drives
Mount your storage drives in the designated slots or trays within the case. Connect them to the motherboard using SATA or NVMe connectors, depending on the type of drive.
Step 6: Install the PSU
Position the PSU in its compartment, typically at the bottom of the case. Secure it with screws and connect the necessary power cables to the motherboard, GPU, and storage drives.
Step 7: Install the GPU
Insert the GPU into the PCIe slot on the motherboard, ensuring it clicks into place. Secure it with screws and connect the required power cables from the PSU.
Step 8: Manage Cables
Organize and secure cables using zip ties to ensure a tidy build and optimal airflow. Route cables through the case’s cutouts to keep them out of the way.
Powering On and Testing
Connect your monitor, keyboard, and mouse to the PC. Plug in the power cable and press the power button.
Enter the BIOS by pressing the appropriate key (e.g., DEL or F2) during startup.
Check that all components are detected. If issues arise, recheck your connections and consult the manuals.
Installing the Operating System
Use a bootable USB drive to install your chosen OS, such as Windows or Linux. Insert the USB, restart the PC, and boot from the drive.
Follow the on-screen instructions to complete the installation process. Once the OS is installed, update it to the latest version.
Optimizing Your PC
Install drivers for your motherboard, GPU, and other peripherals. Use benchmarking tools to test your system’s performance and ensure stability.
Adjust settings for overclocking or energy efficiency as desired. Regular maintenance, such as cleaning dust and updating software, will keep your PC running smoothly.
ALSO READ: All You Need to Know About the Voices of Conservation Blog
Last Thoughts!
Building your own custom PC is a fulfilling endeavor that empowers you to create a machine tailored to your specific needs.
With this guide, you’re well-equipped to embark on your PC-building journey and enjoy the benefits of a custom-built system for years to come.